How to Inspect an Engine With a Borescope
A borescope turns “the cylinder is weak” into “here is why.” This is how to inspect a piston engine's cylinders, valves and bores the way I inspected turbine and compressor blades for over two decades — systematically, so nothing is missed.

- 7 steps
- What you'll need, listed
- No paid placements
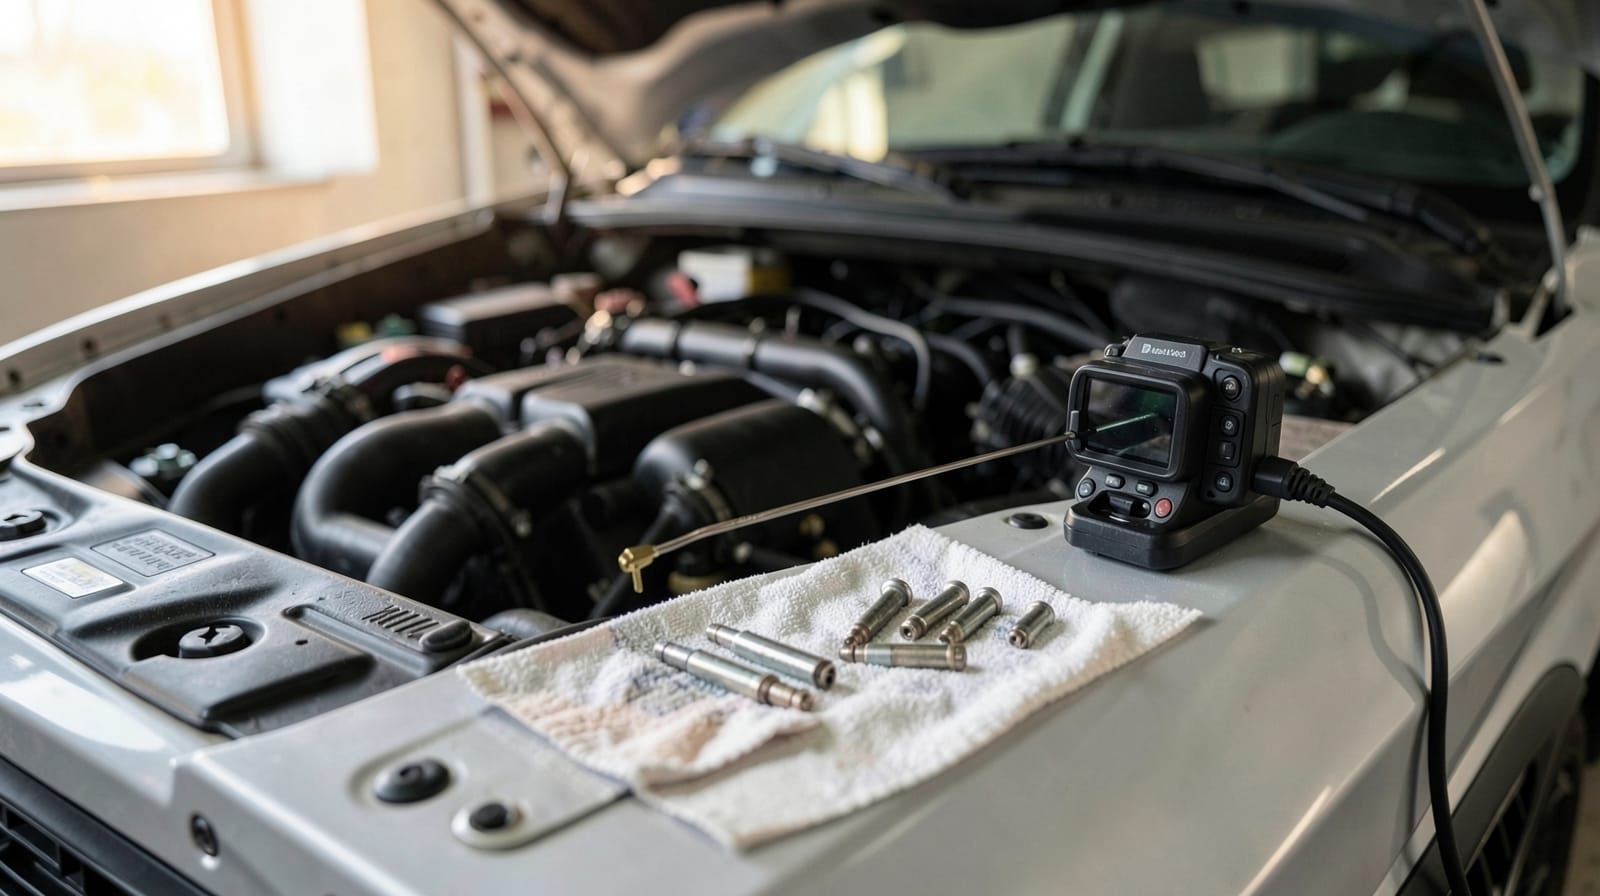
A borescope inspection is a visual check. Do it alongside a compression or leak-down test, not instead of one — the pressure test flags the weak cylinder, the borescope shows the cause.
Use a probe that fits the job: around 3.9 mm to pass down a spark-plug hole into the cylinder, and a larger probe for turbos, intakes and valve covers. Aircraft piston engines are the exception: their 18 mm plug holes take a rigid 8.5 mm probe, and our aviation borescope picks explain why.
- See our picksBorescope with a 3.9 mm probe
Thin enough to pass most spark-plug holes; an articulating or side-view tip lets you read the bore walls, not just the piston.
- See our picksLarger-probe inspection camera (optional)
An 8 mm-class probe with more reach suits turbos, intakes and valve covers, where the access is wider.
- Spark-plug socket, extension and ratchet
The correct socket for your plugs, with an extension long enough to reach deep plug wells without tilting the socket.
- Socket or wrench for the crankshaft bolt
Lets you turn the engine by hand, in its normal direction of rotation, to position each piston for viewing.
- Compressed air and eye protection
Blow loose debris out of each plug well before the plug comes out, so nothing can fall into the cylinder.
- Torque wrench
Reinstall the spark plugs to the torque given in your engine's service information rather than by feel.
How to borescope an engine, step by step
Set up before you start
Work with the engine off and cool (or as the engine's procedure specifies — never with it running). Pick the right probe size, wipe the lens clean, and check the light is working. Have the correct spark-plug socket ready.
Open the access point
Remove the spark plug for the cylinder you are inspecting, and keep the plug well clean so nothing falls into the cylinder. For a turbo, intake or valve train, use the relevant port or cover instead.
Position the piston
Bar the engine over by hand in its normal direction of rotation. Bring the piston low in the bore to expose the cylinder walls, and up near the top to view the piston crown and valves. Never force the engine over.
Insert the probe gently
Feed the probe in slowly without jamming it, and keep the tip off the walls so you do not smear the lens or scratch the bore. Let the probe find its way rather than pushing hard.
Sweep the whole cylinder
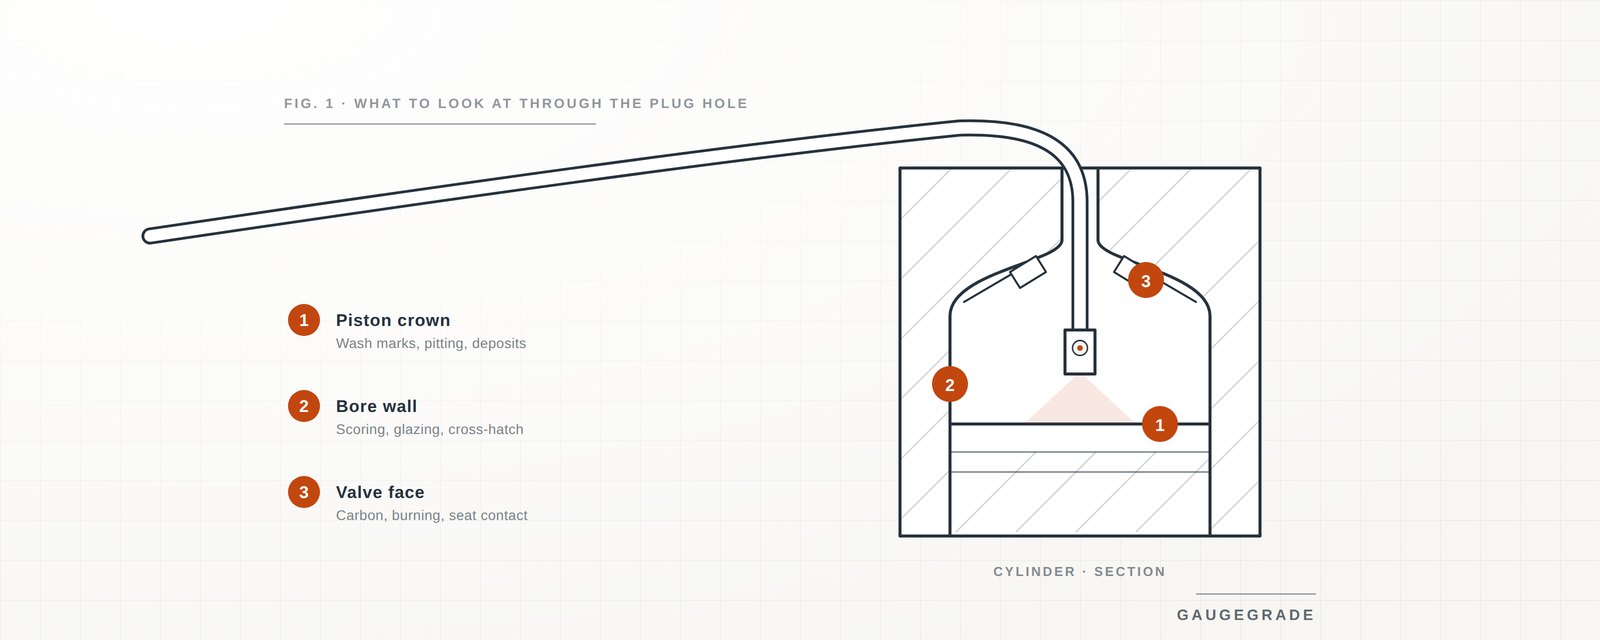
Use the side view, or steer an articulating tip, to read the entire bore wall, the piston crown and the valve faces — not just the piston top. Work a consistent pattern so you cover everything, the same way you would index the blades on a turbine stage.
Read what you see
Look for bore scoring or scratches, a wet or oily wall, coolant droplets or discoloration, heavy carbon, a burnt or deposit-caked valve, and any foreign object. Compare each cylinder against the others — differences tell the story.
Document and decide
Photograph anything suspect, note which cylinder it was, and read it together with your compression or leak-down numbers before you draw a conclusion. One view is a clue, not a verdict.
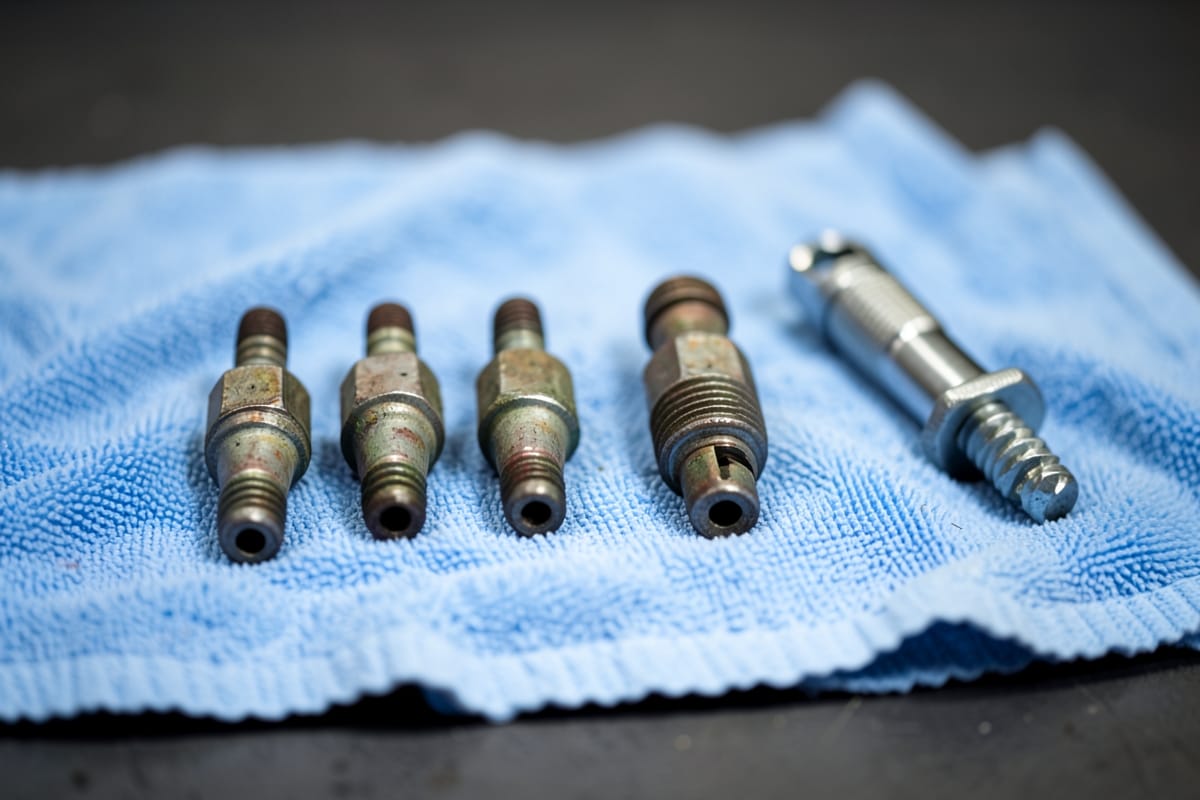
What good and bad look like
A quick read of common findings:
- A clean, honed cross-hatch on the bore wall — healthy.
- Vertical scoring or scratches — ring or debris damage.
- A wet, shiny wall — oil or coolant getting in.
- Milky or rusty staining — coolant intrusion.
- Heavy black carbon on the piston or valve — running rich or burning oil.
- A pitted, burnt or deposit-caked valve — sealing problems.
Turbine to piston: the same discipline
On a turbine engine you index each blade, inspect it to a defined standard, look specifically for cracking, erosion, corrosion, foreign-object damage and hot-section distress, and you never sign off a stage you have not fully seen.
Bring that same discipline to a cylinder: a consistent pattern, the whole surface viewed, findings logged, and no conclusion drawn from a single glance. Method is what turns a camera into an inspection.
Mistakes to avoid
The ways an engine borescope inspection goes wrong:
- Forcing the engine over instead of barring it gently.
- Letting grit fall into an open plug well.
- Touching the lens to a hot or oily surface and blinding it.
- Inspecting only the piston crown and missing the walls and valves.
- Concluding from one view instead of comparing cylinders and cross-checking a pressure test.
Keeping a record you can compare later
On the flight line, an inspection that is not recorded did not happen. The same rule makes a home borescope inspection far more useful, because the real value often shows up the second time you look.
Capture each cylinder the same way every time: a wide view that shows where you are, then the bore walls, piston crown and valves in a fixed order, then close-ups of anything suspect. Keep the same sequence and similar lighting, so images taken months apart can be compared directly.
Label every image with the cylinder number, the piston position and the wall you are viewing, and log the date, the mileage or engine hours, and any compression or leak-down readings alongside. A folder per inspection with a short text note is enough.
Repeating the inspection after a set interval turns single snapshots into a trend. A mark that has not changed in months is far less worrying than one that is growing, and a mechanic can judge a series of consistent images much more confidently than one photo.
Closing up after the inspection
The job is not finished until the engine is back together correctly, and more damage is done while reassembling than while looking. Slow down at this stage too:
- Before refitting anything, check that the probe came out whole and that no tip cap, hook or mirror attachment is missing. If anything is unaccounted for, find it before you go further.
- Remove the socket or wrench from the crankshaft bolt, so it cannot be flung off when the engine turns over.
- Start each spark plug by hand for the first few turns to avoid cross-threading, especially in an aluminum cylinder head.
- Tighten the plugs to the torque in the engine's service information, and follow the plug maker's guidance on whether to use anti-seize.
- Reconnect every coil or plug lead to the cylinder it came from, and refit any covers or intake parts you removed.
- If you found coolant in a cylinder, a damaged valve or a foreign object you could not retrieve, do not start the engine. Have a qualified mechanic confirm the finding first.
- Aeronautics diploma
- Engineering degree
- BAMEC (DGCA)
- QC-trained
- ~2 yrs tool management
Why you should trust us
SK Kutubuddin spent over two decades maintaining and inspecting aircraft, and borescope inspection of turbine and compressor blades was core daily work. On the flight line an inspection follows a set method, can be repeated by the next person, and ends in a written record. This guide carries that approach over to a piston engine in a home garage, without assuming you have a manufacturer's inspection manual at your elbow.
The method draws on established inspection practice rather than on any single product. Where the guide points to equipment, it points to our borescope reviews, whose specs are checked against manufacturer data and current listings as described on our How We Test page. Where your engine's own service information differs from this general advice, follow the service information.
Frequently asked questions
What size borescope do I need to inspect a cylinder?
Around 3.9 mm passes almost any spark-plug hole with room to angle it, and 5.5 mm passes most car plug holes. An 8 mm-class probe fits 14 mm plug holes but is tight in 12 mm ones and may not pass 10 mm ones, so it is better for turbos, intakes and valve covers.
Should the engine be hot or cold?
Off and cool, or as the engine's procedure specifies. Never inspect with the engine running.
What am I looking for inside the engine?
Bore scoring, a wet or oily wall, coolant droplets or discoloration, heavy carbon, burnt or fouled valves, and any foreign object — compared cylinder to cylinder.
Is a borescope better than a compression test?
They do different jobs. The compression or leak-down test tells you a cylinder is weak; the borescope shows you why. Use both.
Can I damage the engine with a borescope?
Only if you force the probe, touch hot surfaces, or drop debris into an open cylinder. Go slowly, keep the plug well clean, and keep the tip off the walls.
Should I remove every spark plug or just one?
Removing all of them lets the engine turn by hand with very little compression resistance, which makes positioning each piston easier and smoother. The trade-off is more plugs to handle, so keep them in order and protect every open well from dirt. If you only need to check one cylinder, removing that single plug is enough.
What should I do if I find a foreign object in a cylinder?
Do not crank or start the engine, since the piston can drive the object into the head or valves. Small, loose items can sometimes be lifted out through the plug hole with a magnetic pickup or a scope's retrieval attachment. If it will not come out easily, or you cannot see all of it, have a mechanic remove it.
How often should I borescope an engine?
Most car engines have no fixed interval for it. Inspect when a symptom or a pressure test points to a cylinder problem, before buying a used vehicle or engine, and once while the engine is healthy to create a baseline. After any finding, repeat the same inspection after a set period to see whether it is changing.
Related reading
- Aeronautics diploma
- Engineering degree
- BAMEC (DGCA)
- QC-trained
- ~2 yrs tool management
SK spent over two decades in aircraft maintenance, working hands-on with aero-engine systems and flight data recorder systems, borescope-inspecting turbine and compressor blades, and spending almost two years in a dedicated tool bay. He holds a diploma in mechanical engineering (aeronautics), an associate degree in science, an engineering degree and a Basic Aircraft Maintenance Engineer's Certificate (BAMEC) from DGCA, and has completed quality-control and aviation fuels & lubricants training. GaugeGrade applies the same inspection, torque and tool-management standards to the tools everyday mechanics, DIYers and trades actually buy.